Vocal Chain Using Sonitus EQ And Compressor - Episode 100

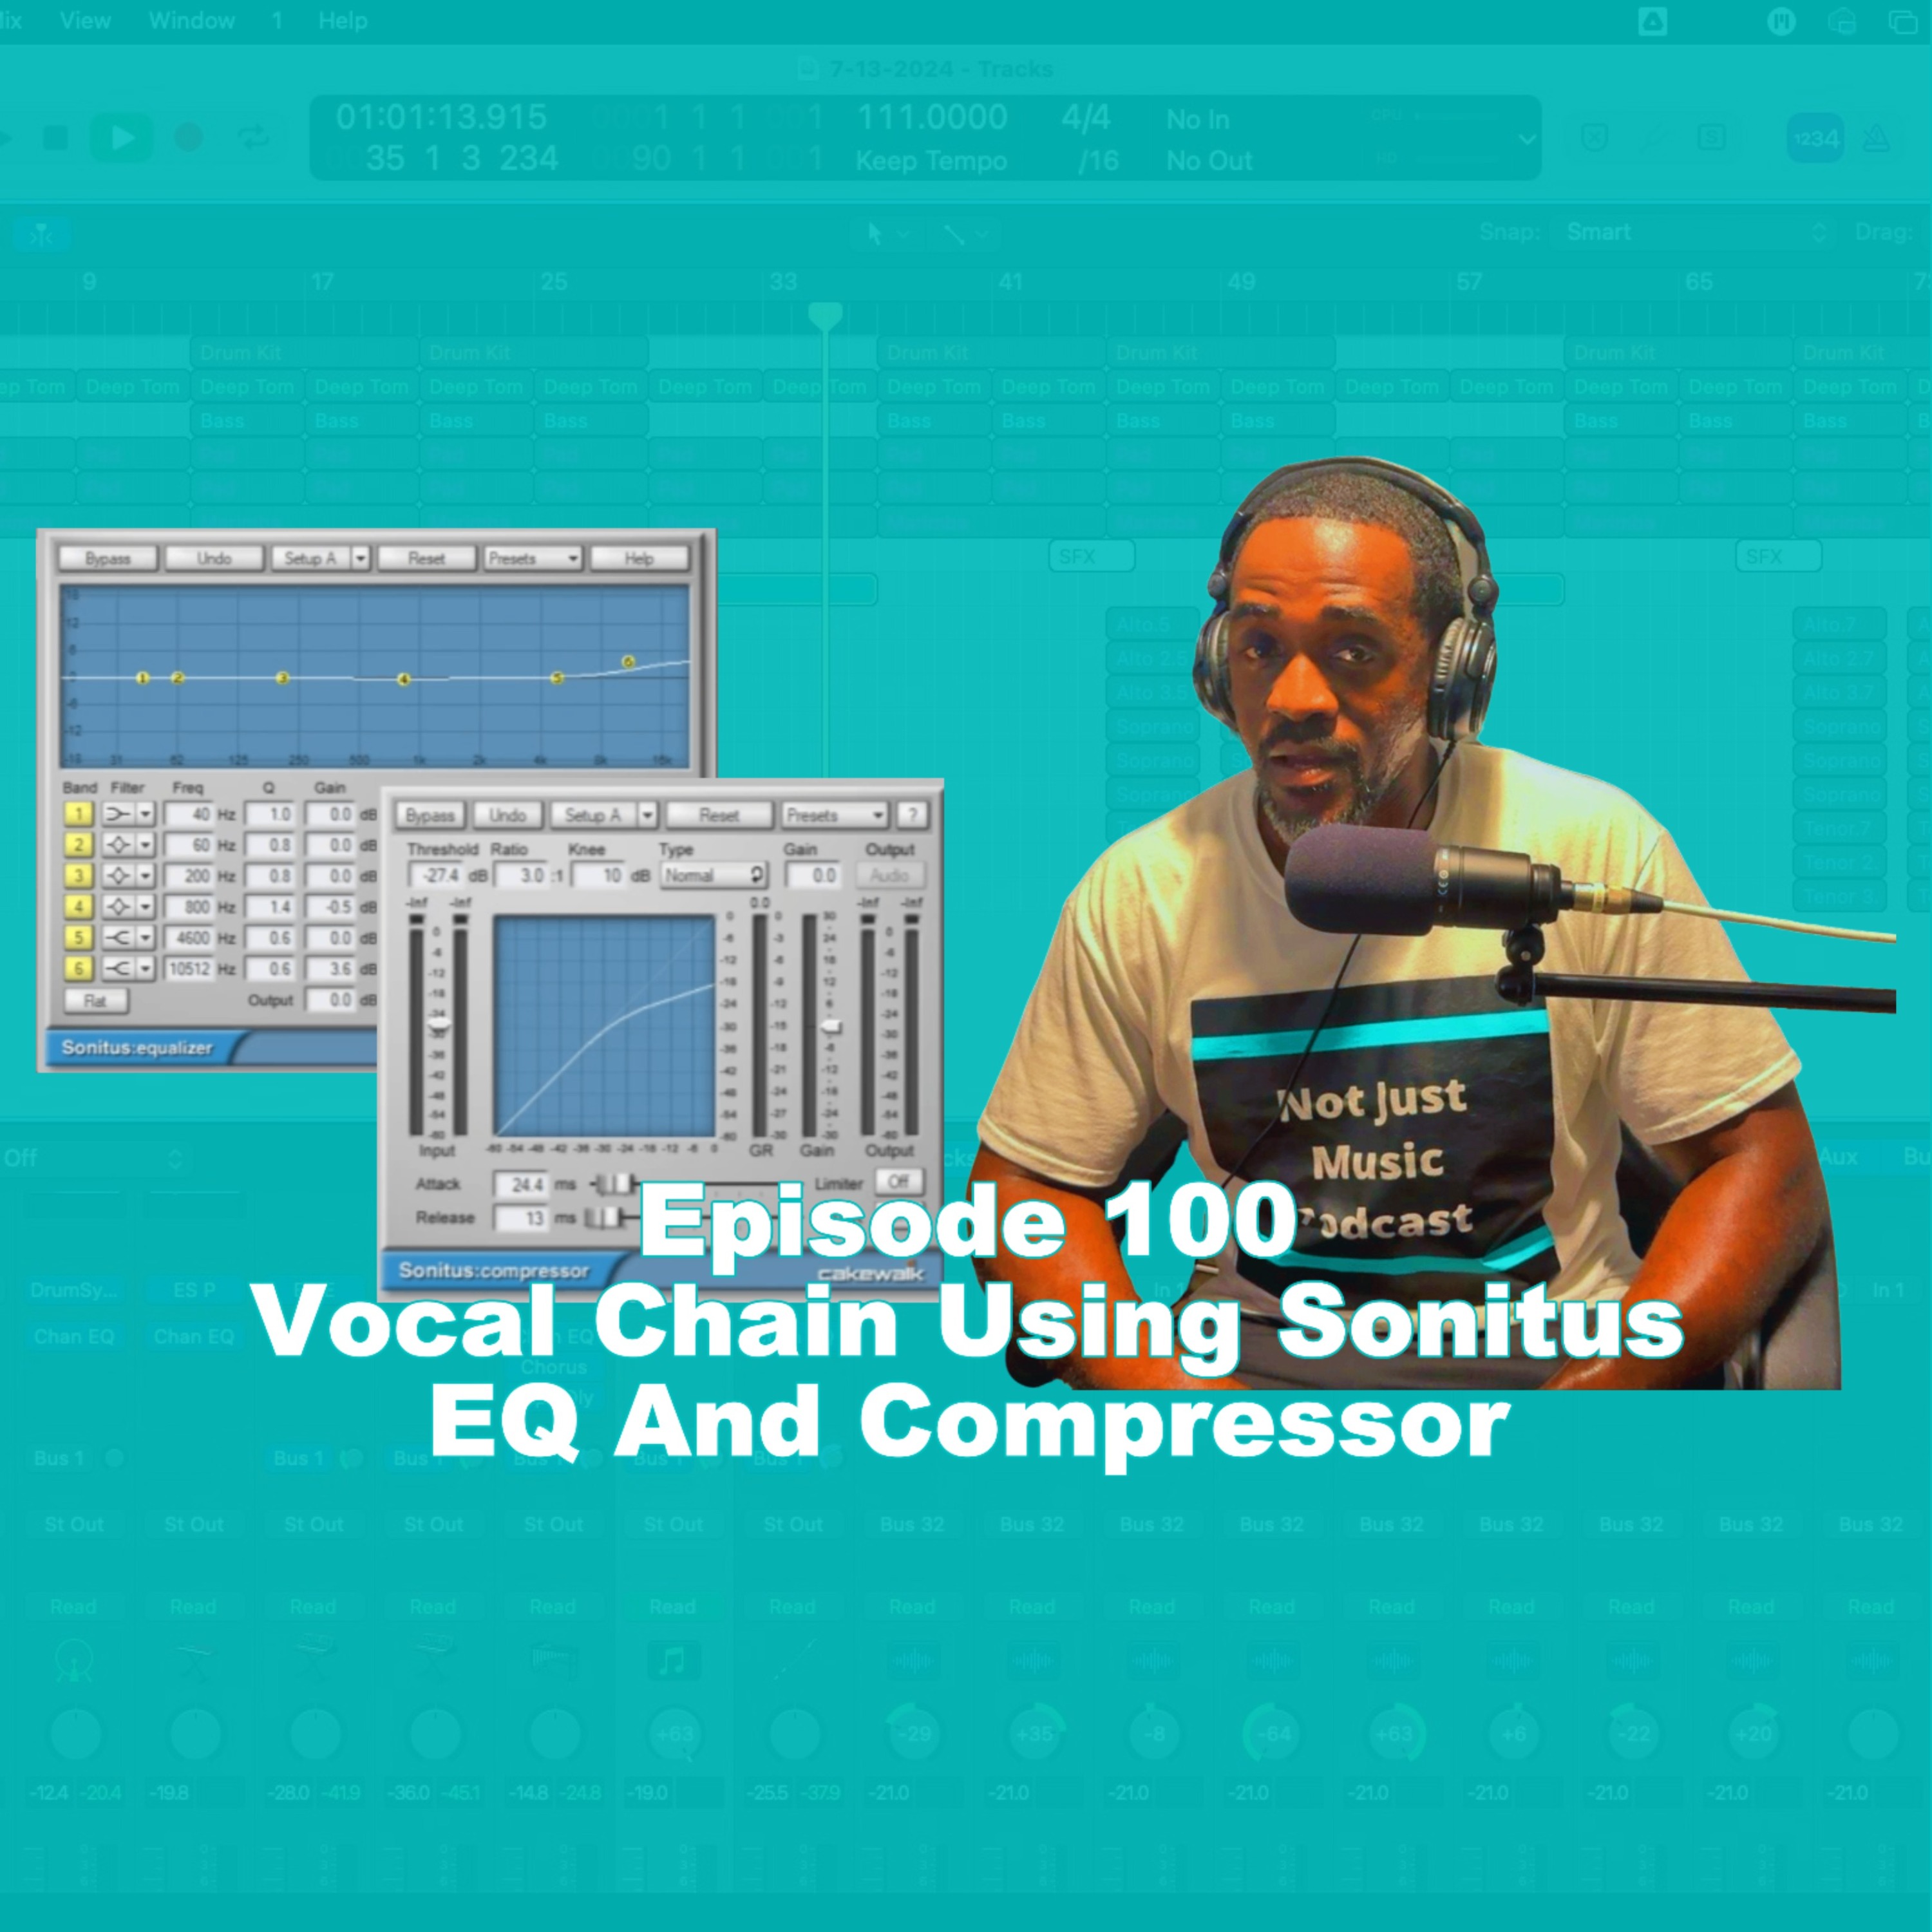
In this video, we'll be demonstrating a simple yet effective vocal chain using plugins from Cakewalk Sonar's Sonitus Collection. Over the next few weeks, we'll focus on using the Sonitus EQ and Compressor to shape the vocals and achieve a polished sound. This tutorial is perfect for beginners looking to improve their vocal recordings without spending a fortune on expensive plugins. We'll walk you through the process step-by-step, explaining the key parameters and how to dial them in for optimal results. Whether you're recording vocals for your own projects or working with clients, this vocal chain will help you achieve professional-sounding results.
Key Takeaways:
- Learn how to use Sonitus EQ for frequency shaping.
- Understand how to use Sonitus Compressor for dynamic control.
- Achieve a polished and professional vocal sound. Stay tuned in.
WEBVTT
00:00:00.000 --> 00:00:02.080
what's going on it's your boy dewan barino from
00:00:02.080 --> 00:00:04.960
not just music podcast guess what we finally
00:00:04.960 --> 00:00:08.580
reached episode 100 and we back in the studio
00:00:08.580 --> 00:00:18.899
let's go let's get into it this episode i just
00:00:18.899 --> 00:00:20.640
want to kind of talk about a couple things you
00:00:20.640 --> 00:00:23.719
know one thing being just getting back into the
00:00:23.719 --> 00:00:27.339
studio it's been a while um and it feels really
00:00:27.339 --> 00:00:30.350
good to finally get back in here Got a couple
00:00:30.350 --> 00:00:34.350
of things, you know, we and I have to finish
00:00:34.350 --> 00:00:37.369
in here to make everything solid, to get everything
00:00:37.369 --> 00:00:41.490
back up to par. Like I would like lighting and
00:00:41.490 --> 00:00:44.990
a couple of things, you know, cameras and however
00:00:44.990 --> 00:00:47.530
and however those little things might, you know,
00:00:47.530 --> 00:00:52.469
to get everything right in this room again. Get
00:00:52.469 --> 00:00:56.149
all the microphones, you know, computer hookups,
00:00:56.170 --> 00:01:23.950
everything, you know, back up to par. My small
00:01:23.950 --> 00:01:27.849
chain here in cakewalk First thing I have in
00:01:27.849 --> 00:01:33.370
mind is a compressor. Very simple compressor.
00:01:33.530 --> 00:01:35.810
The Sinaitis compressor is very, very useful.
00:01:36.709 --> 00:01:40.450
And it doesn't take much to get it up and going.
00:01:40.670 --> 00:01:43.950
And it doesn't pull on your computer system really
00:01:43.950 --> 00:01:47.849
hard at all. But it does the trick. If you want
00:01:47.849 --> 00:01:49.989
to copy my settings, you can see if you can see
00:01:49.989 --> 00:01:55.670
them, you know, have it EQ. Same thing. The Sinaitis.
00:01:56.590 --> 00:02:00.269
I'm just adding a little bit around 10 ,000 hertz,
00:02:00.530 --> 00:02:03.870
you know, just to bring out the brightness. I
00:02:03.870 --> 00:02:08.330
added about three decibels to it. Sometimes it
00:02:08.330 --> 00:02:10.370
varies, just depends on what I'm looking for.
00:02:12.129 --> 00:02:18.650
Lastly, but not least, the VX64. A lot of you
00:02:18.650 --> 00:02:21.030
do not know what this is, but this is one of
00:02:21.030 --> 00:02:29.259
the most powerful tools inside of... sonar many
00:02:29.259 --> 00:02:32.560
years i've been using it but just recently i
00:02:32.560 --> 00:02:35.840
started using it in my vocal chain due to two
00:02:35.840 --> 00:02:41.479
things saturation and compression and a little
00:02:41.479 --> 00:02:43.900
bit of light eq i'm actually touching the eq
00:02:43.900 --> 00:02:48.139
by like maybe a decibel maybe like 1 .5 or something
00:02:48.139 --> 00:02:50.560
like that. It was just to play around with some
00:02:50.560 --> 00:02:52.139
different settings, just, but that's why I like
00:02:52.139 --> 00:02:56.080
to start off it in my vocal chain. So what do
00:02:56.080 --> 00:02:58.699
you have in your vocal chain? You know, hopefully
00:02:58.699 --> 00:03:01.560
you were building your own with inside of, you
00:03:01.560 --> 00:03:03.919
know, within the box that you already have, whether
00:03:03.919 --> 00:03:06.259
it's pro tools, cake wall, I mean, you know,
00:03:06.280 --> 00:03:08.539
those in the FL studio, you know, if you can
00:03:08.539 --> 00:03:13.639
make it happen, make it happen. Logic pro. Um,
00:03:14.090 --> 00:03:18.090
I think some of y 'all are probably even able
00:03:18.090 --> 00:03:20.289
to. I think y 'all recorded some vocals over
00:03:20.289 --> 00:03:23.169
there too. But yeah, come up with your own system,
00:03:23.210 --> 00:03:26.750
your own system inside of your own, you know,
00:03:26.770 --> 00:03:30.210
within your own program. You know, it's a lot
00:03:30.210 --> 00:03:32.949
to use. Just don't overdo it. You know, you don't
00:03:32.949 --> 00:03:35.770
want to stack so many plugins that it's taken
00:03:35.770 --> 00:03:38.490
away from that raw audio. You know, sometimes
00:03:38.490 --> 00:03:40.250
you want to leave a little bit of room to mix
00:03:40.250 --> 00:03:43.689
and master things in the end. So, you know. less
00:03:43.689 --> 00:03:46.930
is more but find your own vocal chain y 'all
00:03:46.930 --> 00:03:50.610
and this again this is within cakewalk sonar
00:03:50.610 --> 00:03:54.389
um again i've been using this for years um i
00:03:54.389 --> 00:03:56.990
don't think i'd change it for the world um but
00:03:56.990 --> 00:04:00.210
again your boy duane barino not just music podcast
00:04:00.210 --> 00:04:00.650
out


